on
Configuring Travis CI for Github builds
Travis CI is a Continous Integration Tool that is widely used by many developers around the world to build, deploy and release their code that is hosted in GitHub repositories. My previous post on Jenkins also explored the possibilty of CI which it is perfectly capable of doing. Travis CI is much more simpler and easier to setup and run builds than Jenkins. So this post is aimed more at newbies (including myself 😉).
Introduction
When Travis CI is integrated with GitHub, it automatically detects changes to the repositories via Webhooks and builds and/or run tests for that codebase. How Travis CI knows how to build or test codebases is defined in .travis.yml file in the project root.
This post will be a simple introduction into configuring continous integration into a small GitHub repository. So, let’s get started.
Steps, Follow ‘em 👌
Head on to Travis CI and signup using your GitHub account. Travis CI will then prompt for authorization on your repositories.
Once you’re successfully signed in, Travis CI will then import your repository details. This might take a while depending on your repository count. After the import is complete, you will have a list of repositories as shown below.

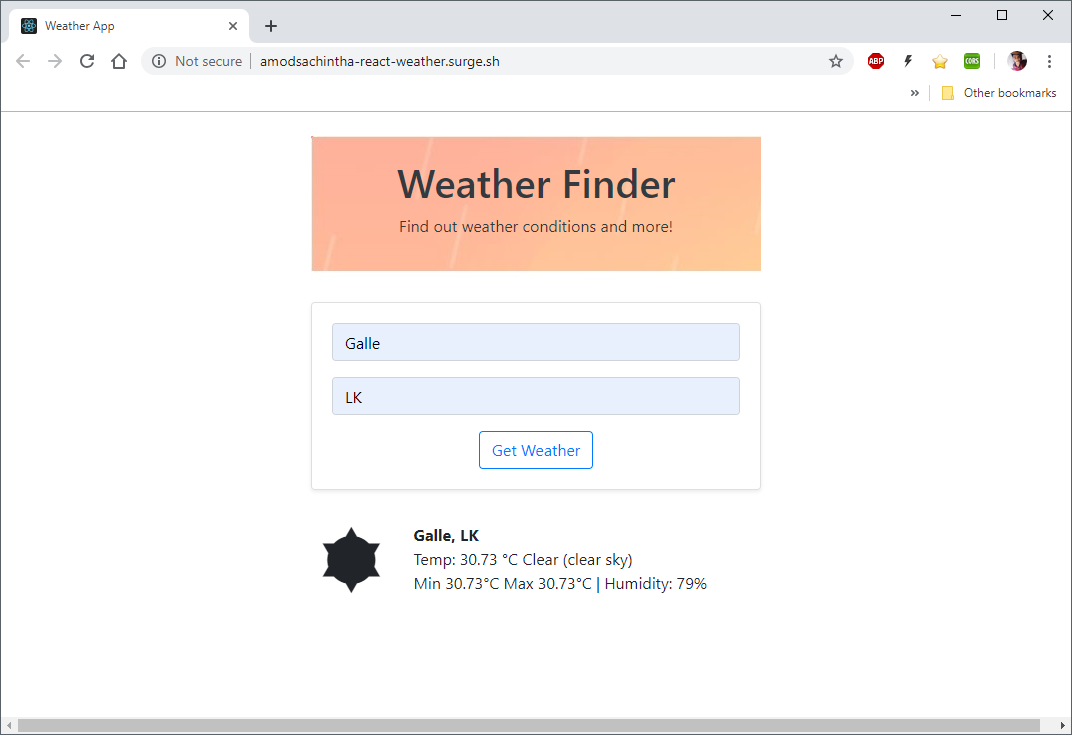
For this demostration, I’m using my weather-app created with React. Click on “Activate Repository” to enable/add a Webhook to the repository. This Webhook will trigger configured services for certain events.
So, like I said before, Travis CI will not know what to do as soon as you activate the repository. We will now configure the .travis.yml file in the GitHub repository for Travis CI to get the required build and deploy configuration.
The .yml file contains basic configuration details for Travis. Let’s take a closer look at the config now.
language - the base language used in the project
cache - instructs Travis to cache the given directories
script - test/build commands (instructions)
deploy - provides deployment information for Travis to automatically deploy the app. The provider is the service providing deployment and the domain is where the build will be available to the public (in case of Surge.sh). project is where the final build output lives. It will then be deployed to Surge.
on - the working branch.
Note that I’m using Surge.sh to deploy my static build to Surge under amodsachintha-react-weather.surge.sh. Therefore, we need to go back to Travis and set up a couple things. Surge will need the email address and a token to log in from the TravisCI build tool. To get this token, run surge token in the CLI and copy the output from the second line, I masked mine, but it should look something like this:
Now, click on the More Options dropdown and select settings. Under the Environment Variables section add the surge token and login email as follows.
Okay now, we’re almost done. The final step is to commit and push the changes to the GitHub remote that were made to the weather-app repository.
Head on to Travis CI to watch the build log scroll…
After the build is complete, inspect the log to see if the build and deploy was indeed sucessful.
Additionally, we can add a fancy build badge to our README.md on GitHub for users to see if the builds are successful 😎 . Click on the build bage near the repository name on Travis CI and select the Markdown version of the build status image. We can then add this code to the README file. Cool!
It’ll look just fine.
Next Steps

There’s a lot more you can do with these tools. I hope this was an informative look at some of the current web development tools and how to leverage them to suit your development needs. So long 👋 .